


I am hard core trying to finish up all the projects I self-inflicted on myself before the end of the year.
There’s something about the weather getting cold that makes me relish sitting at the sewing machine on Saturday mornings while Jason reads the newspaper. It’s a thing, and I recognize just how lame I sound.
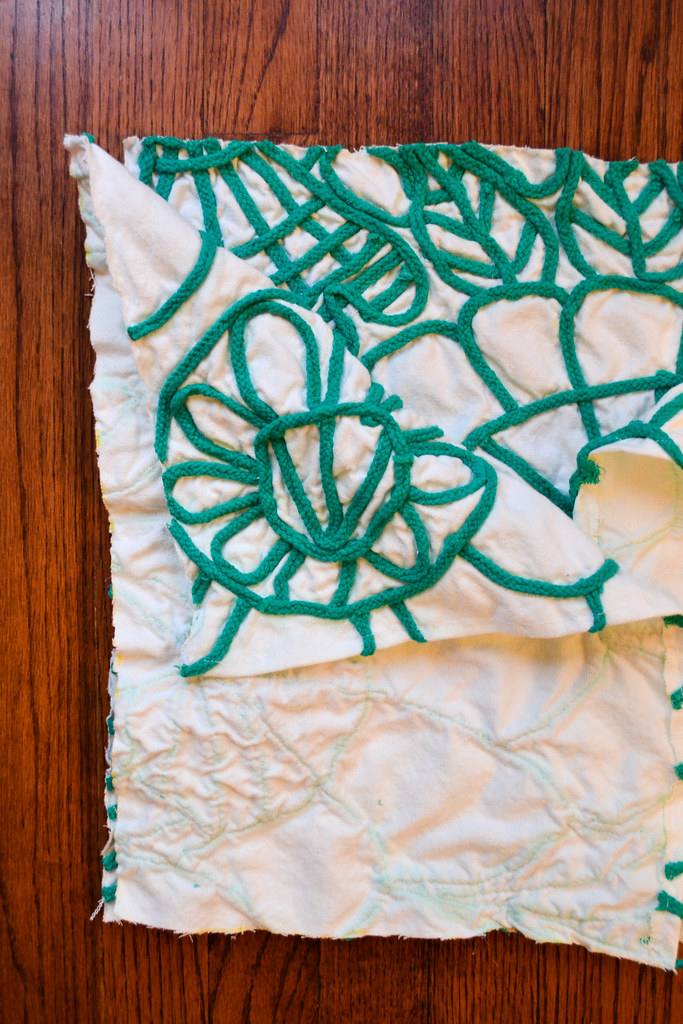
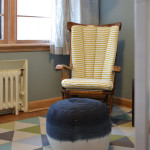
Anyways, let me take you on the wild ride of making decorating decisions in our household. When thinking about how we want to decorate the nursery, we remembered that we had these sweet curtains from Anthropologie. In the craziness of moving, they of course got put into a bin that was quickly carried into the basement storage area and never seen or heard from again.
But we found them. They were a perfect match for the room, except for the fact that there are three large windows, and we only had two panels. I went on the hunt for buying two more panels online, but no luck, these curtains are no longer for sale. Nor could I find any on eBay or other resale shops. Because I desperately looked.
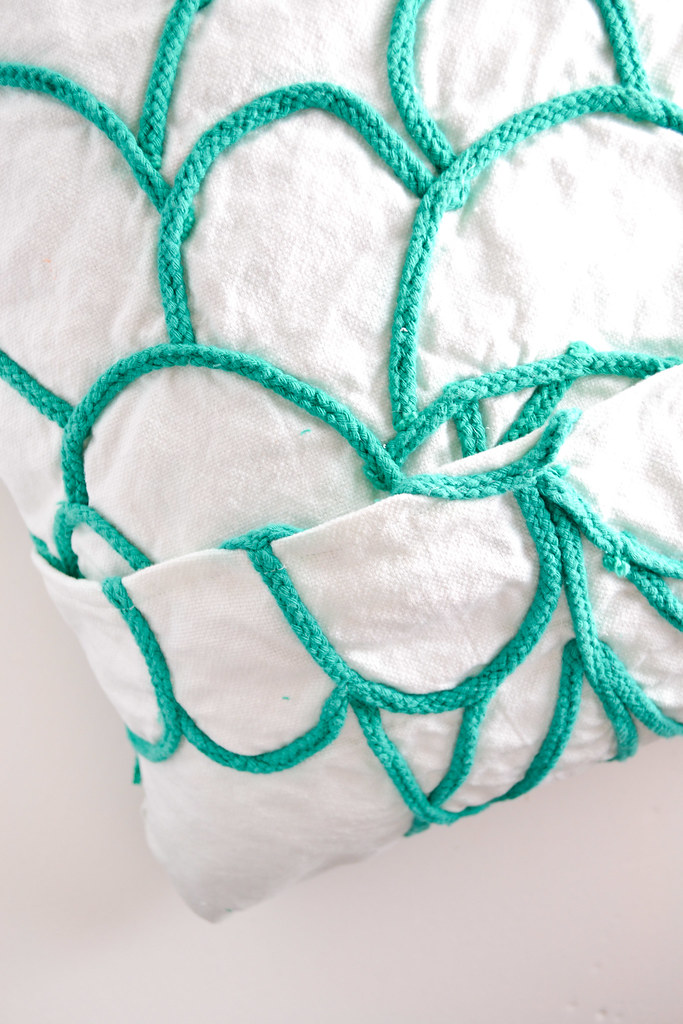
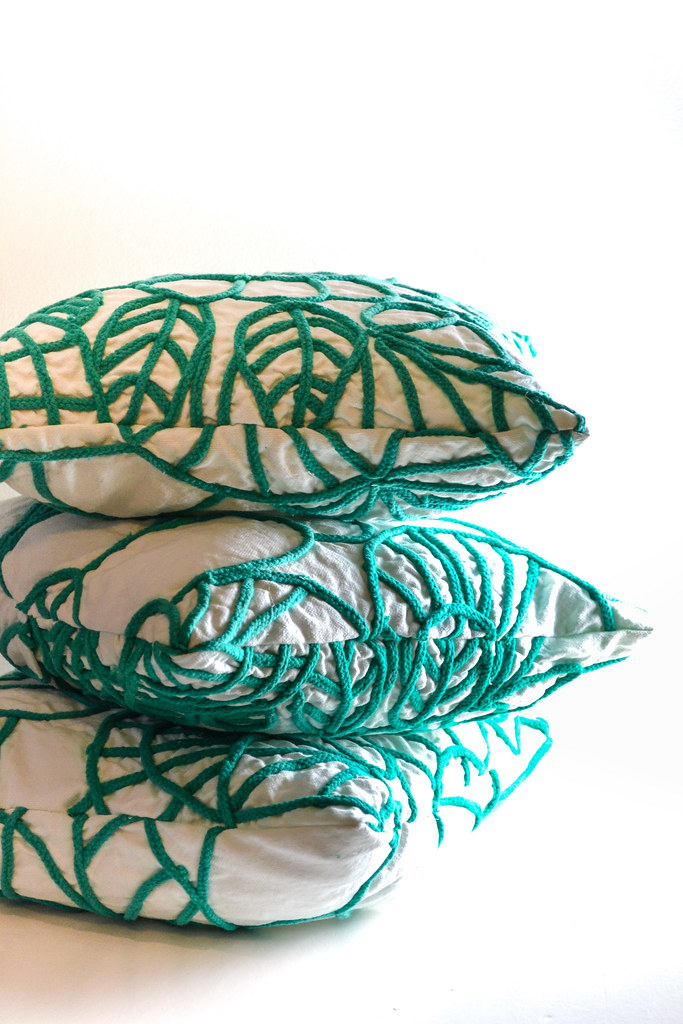
That idea was tossed out the window and I decided to make the curtains myself (more on that later), but in the meantime, I didn’t want to lose track of this fabric by putting it back in the bin. So instead, I decided to make pillows out of them for the basement, which has been sorely lacking something soft to rest your head on while watching Sons of Anarchy.
None of this is important to you or relevant, but I’m working on setting my future self up to cringe at my current self for sharing such mundane details of my life on the internet. I think I’m on the right track.
What is {perhaps} more interesting or relevant is how to make envelope pillow covers, which is one of the easiest methods you can use to cover up plain or ugly pillows with fabric you love. Let the tutorial commence.
What You’ll Need
The basics:
- Pillows (I used 16″ by 16″, and will use these dimensions for the instructions).
- Fabric
- Scissors
- Iron and ironing board
- Pins
- Thread
- Sewing machine
Cutting and Hemming the Fabric
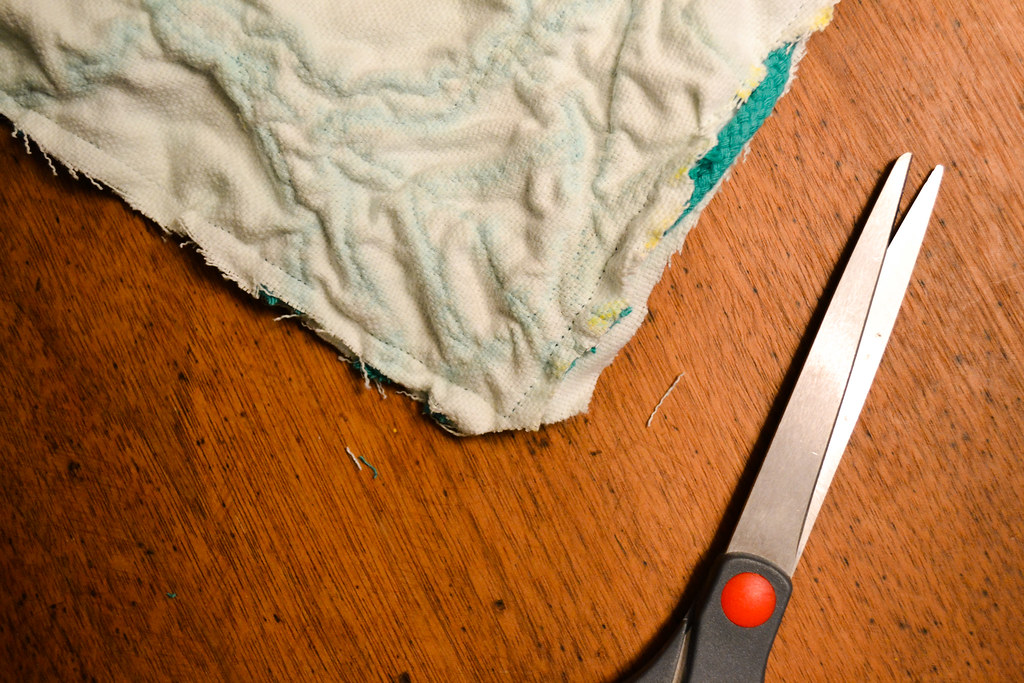
For each pillow, you’ll need to cut three pieces of fabric.
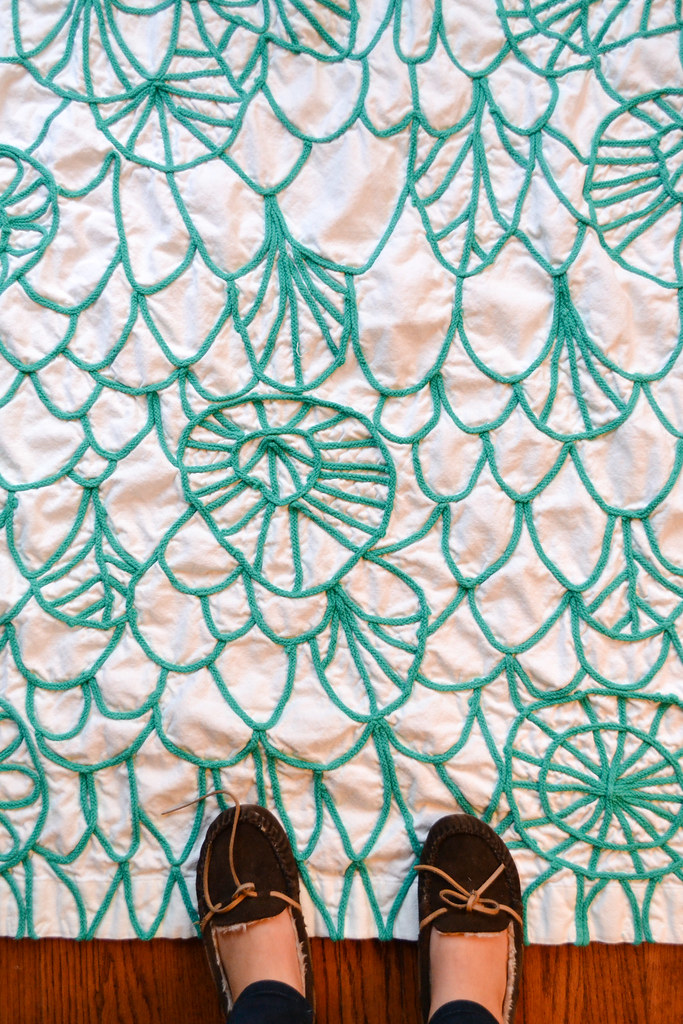
One piece will be the same size as your pillow (16″ by 16″) and the other pieces (which will make up the envelope) will be 12″ by 16″ and 8″ by 16″. If you’re working with a piece of fabric that used to be something else (i.e. curtains), first cut off the old hems, then cut your pieces.
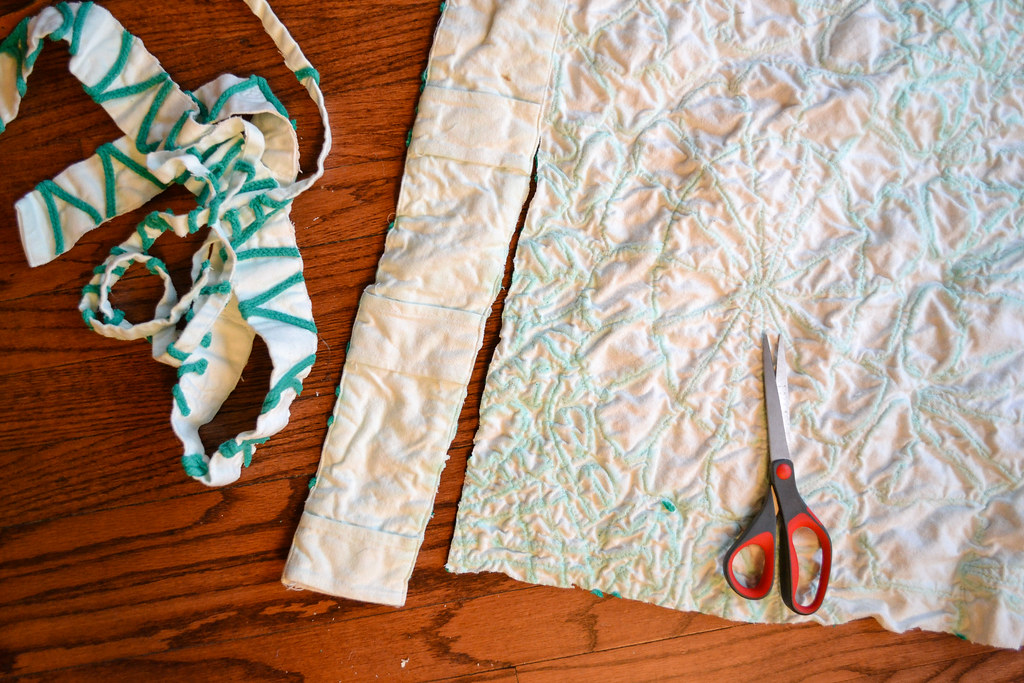
Once you’ve made your cuts, you’ll want to create a hem on the two shorter pieces. On each of the two pieces, pin a 1/2 inch hem along one of the 16″ sides. Iron it down to make for easy sewing.
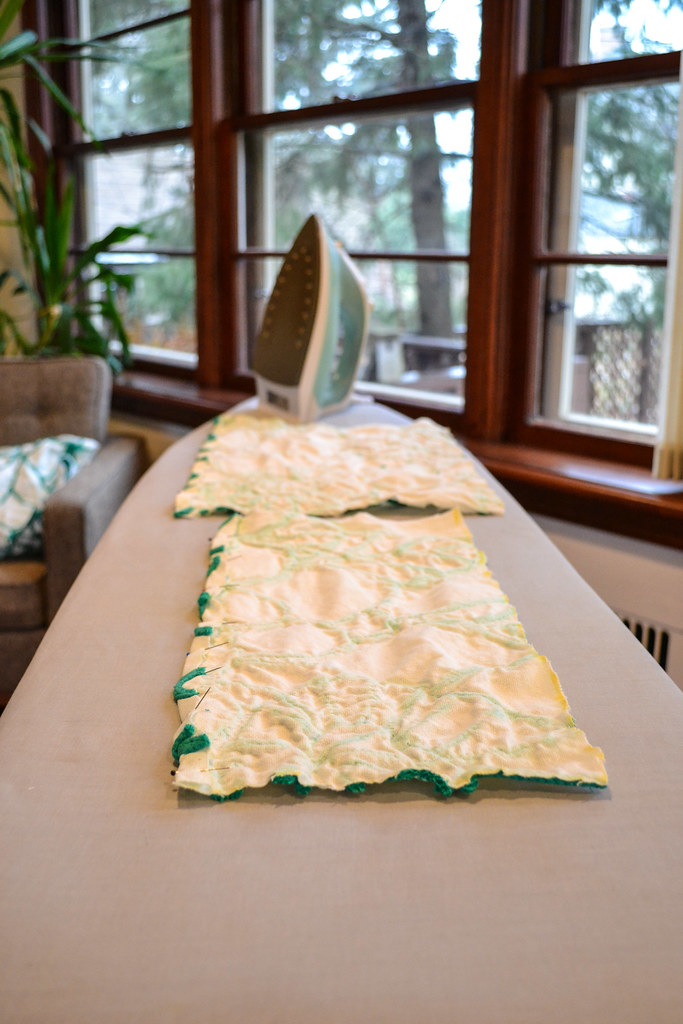
Next, sew the hem.
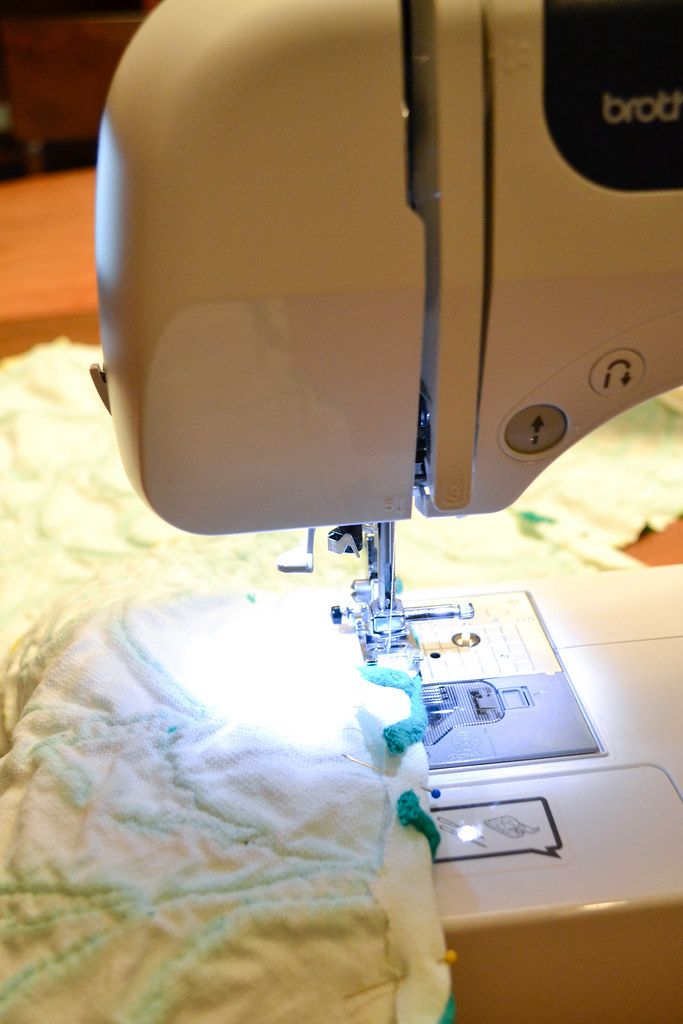
Constructing the Pillow Case
With your two shorter pieces hemmed, you can construct the pillow case. Place the larger 16″ by 16″ piece right side up on a work surface. Place the 16″ by 8″ hemmed piece on top with the pattern facing down. Place the 16″ by 12″ piece with the pattern facing down on top of that. You’re now set up for your pocket:
Next, pin along all the edges.
Starting with one corner, sew along the edges with a 1/2 inch seam allowance until you’ve made it around all four sides. Trim off the corners.
Then flip the pillow case right side out.

Tuck your pillow inside the envelope case and you should be good to go.
And Onto the Basement Update
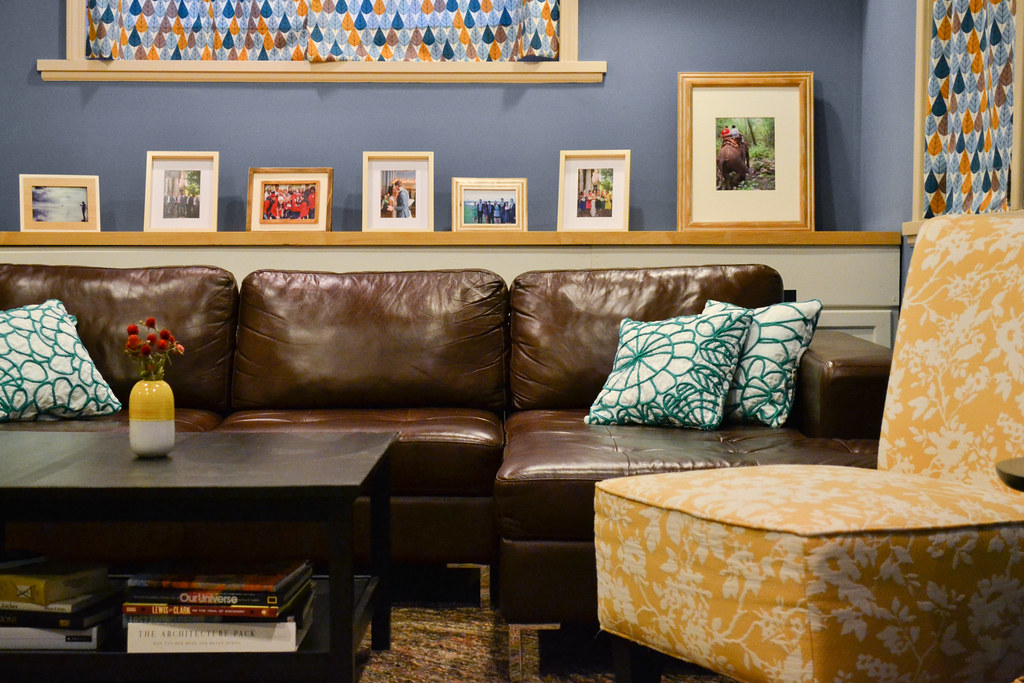
Here are the pillows in their full glory, and for those of you that have been following along, you’ll see a couple new elements in our basement.
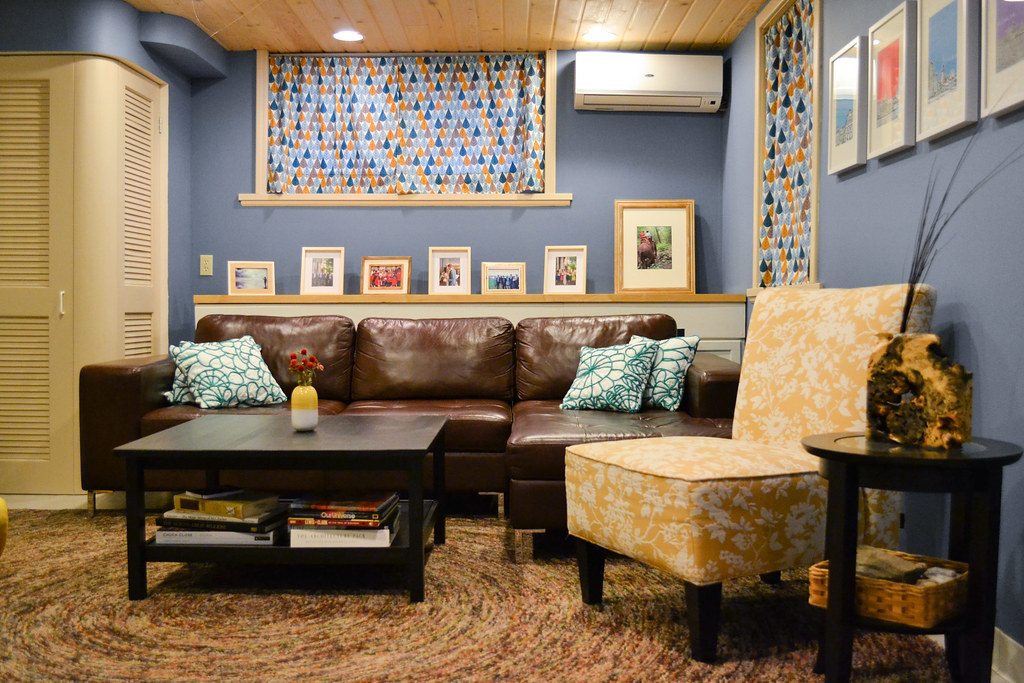
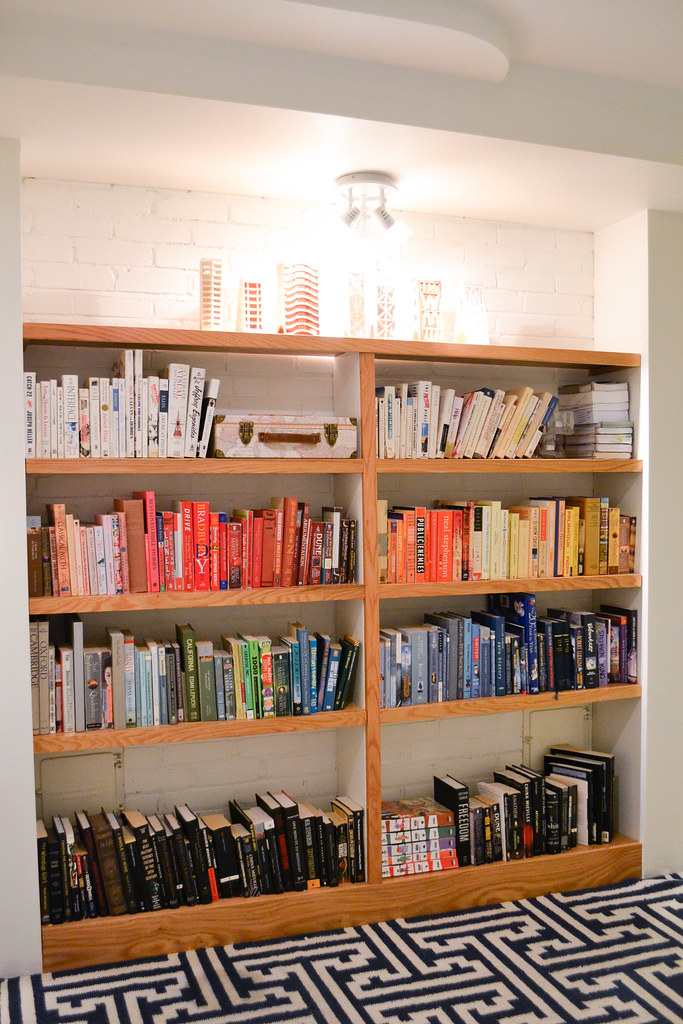
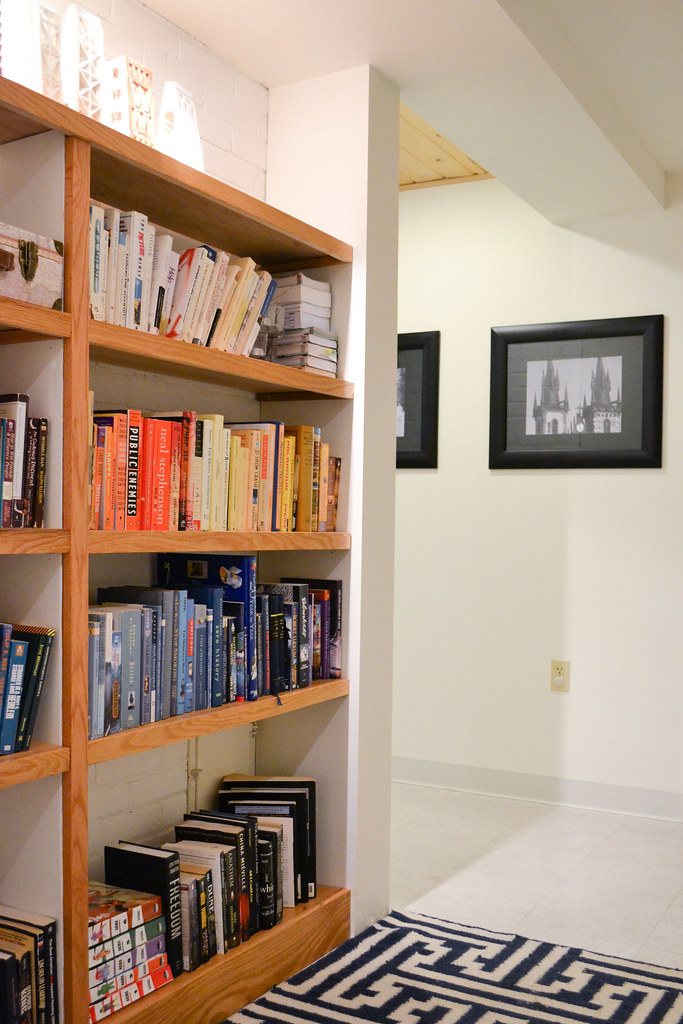
Here’s a quick tour of the basement from start to finish. First off, we added a rug next to the built-in bookshelves (which were recently featured on Apartment Therapy!). This rug was also in that storage box of things that never got unpacked from the old house.
We put up some more pieces (Jason’s photography from Prague) along the walls that lead you into the basement:
And moved some prints that used to be in our kitchen down here, because we found a much more appropriate kitchen print. These are drawings of some of the cities we’ve lived in (Madison, Chicago, Milwaukee, and Madrid) from an Etsy shop called Bugsy & Sprite.

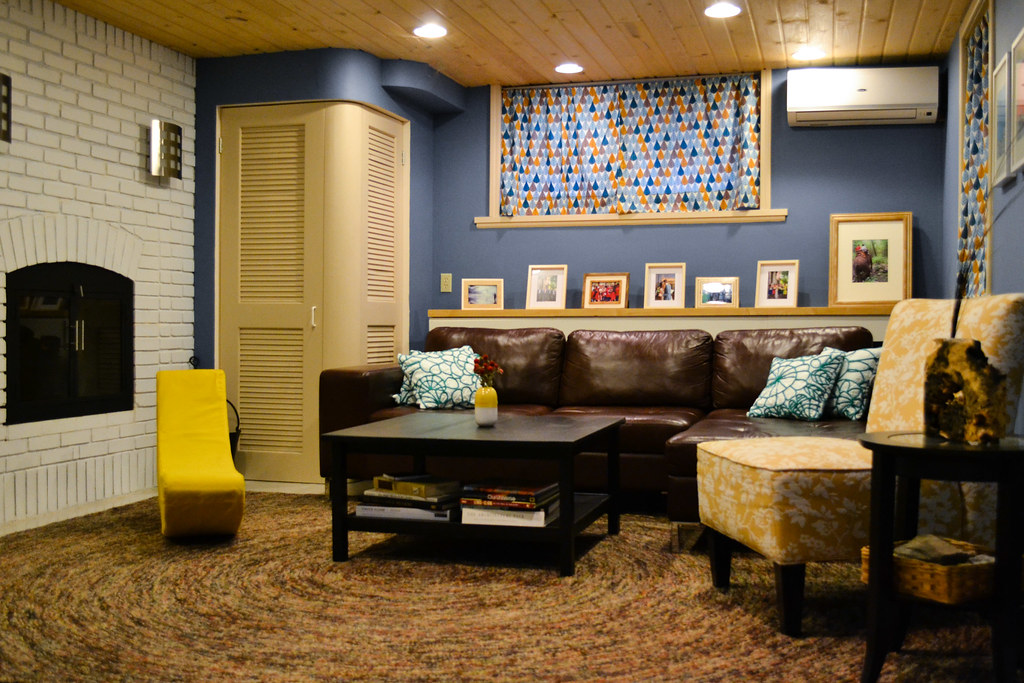
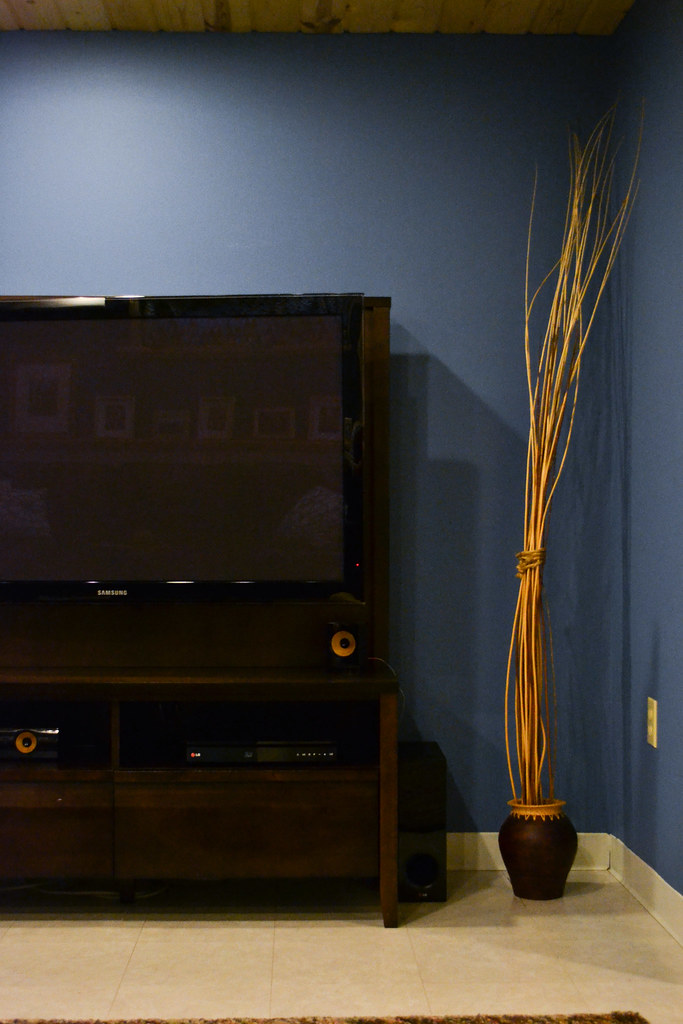
Here’s what’s on the other side of the wall that all the furniture faces:
And a view into the hallway (you’ll notice the carpet peeking out, the bookcase is on the back of that wall):

It’s been a long journey of this, to this, to this, to this, to this, to what you just saw above. Although yes, there are still things from the original list, but I think we’re taking a break for now:
for the cabinet:paint it white.we may also get a board that will cover the entire front of the cabinets (and paint that white as well) and make it look like it’s the actual facade. that way, we can push the couch up against it and it doesn’t look strange but still not lose the storage behind it (we’d likely put seasonal and really rarely used items in there, so moving the couch wouldn’t happen often)remove that old countertop and install butcher block counter
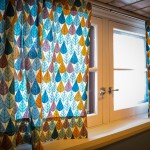
decide whether we should paint that door next to the fireplace blue (to match the walls), white (to match the fireplace) or leave it as iscreate a gallery wall of frames above the cabinet to try to camouflage the fact that the window is off-center and that damn air conditioning unitreplace all the window treatmentsget a big area rug that warms up the place and covers up the linoleum flooringfind pillows for couch- get/build a new coffee table that has storage inside to hide all the blankets (it’s chilly down here)
- get new sconces for over the fireplace
build bookshelves on the other side of the fireplace (not pictured) and finally get rid of the black bookcases that are at least 15 years old, from ikea, and still standing stronghang awesome things up on the walls- figure out long term plan for the floor because obviously, this white linoleum isn’t our first choice


1unhealthy
writes 3nationalism