


about this time last year, we had bats in the house. that’s right – nasty, ugly, bats flying around our vaulted ceilings too high up for us to get to.
the first bat came the night before my knee surgery. i was able to swat it with a towel and jason trapped it between a pot and a pan and then tossed it all (pots and pans included) out the front door.
about two weeks later there was yet another bat. this time, i had a large knee brace on and jason was on the west coast. our friends marty and anne came to the rescue, and we came to the exact same result: marty trapped the bat in a pot and pan and tossed it all out the front door.
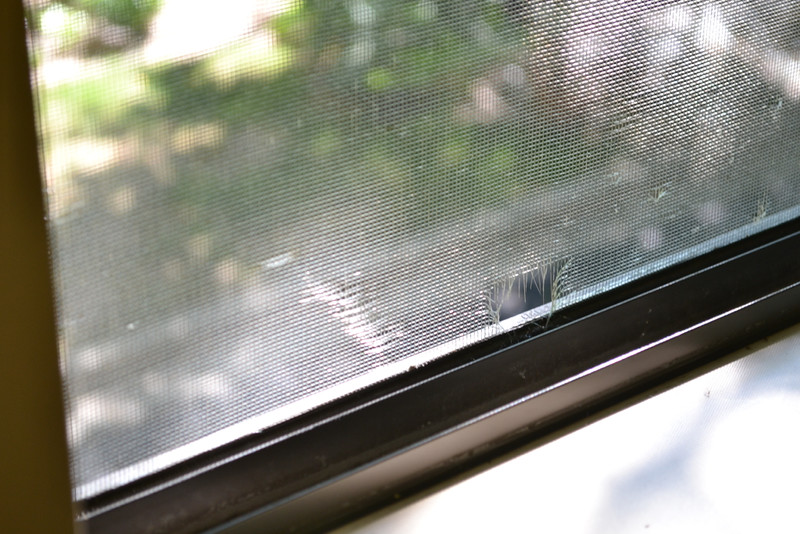
anyways, we figured out how the bats were getting in: through what seem like small holes in the screens in the windows. so, we took the lazy way out: we didn’t open the three windows that had the holes in them. for a year.
laziness is not a good long term solution. this weekend, we finally got around to replacing the screens in the windows. and here’s the funny part: it took all of 5 minutes per window and cost $15 for all three. here’s a tutorial on how to replace your screens from jason, since he was the one that did all the work:
to do this project you will need a screwdriver (perhaps both a flathead and phelps), a shop knife or razor blade, a screen mouse, new replacement screen (either metal or fiberglass). you can buy a kit that has a screen mouse and all of the other necessities at a home depot or other hardware store.
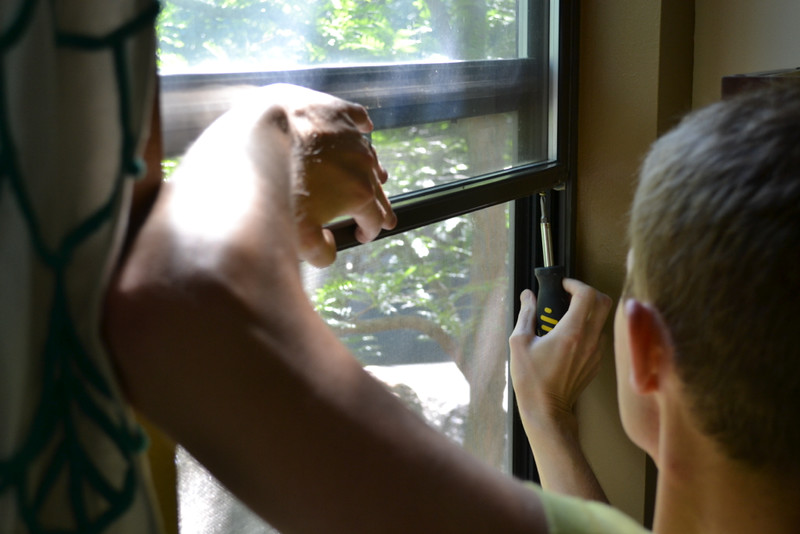
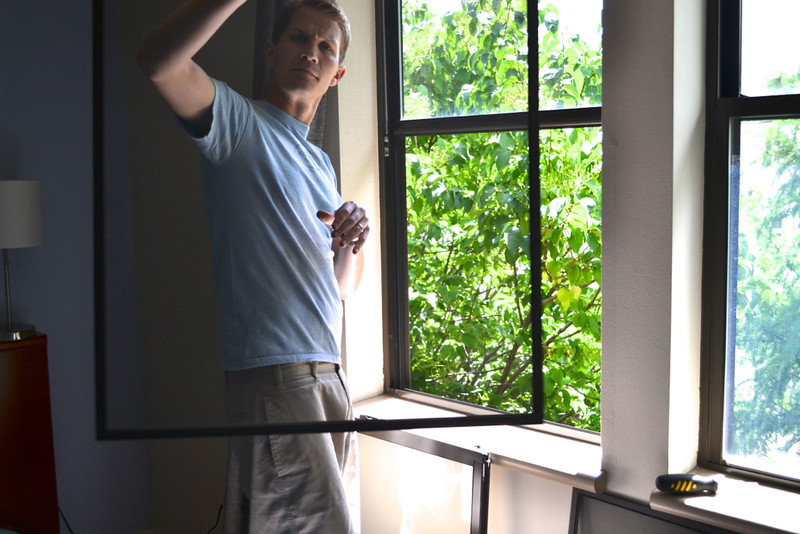
your first obstacle is getting the screen out of the window. in theory, this is easy, but anyone who has dealt with windows knows they are a pain and to get the screen out you likely have to partially disassemble the window. the good news is that the first time doing this will be the hardest, and once you get over that hump the rest should be easier. a can of WD-40 does wonders for any sticking parts while you do this. for our windows this means taking off the bottom window by unscrewing two screws that fasten it to the springs/assembly that help the window open easier, then gently easing the window out of the frame. a word of caution: on some windows if you are not careful you could drop the window out the window, and you don’t want to do that…
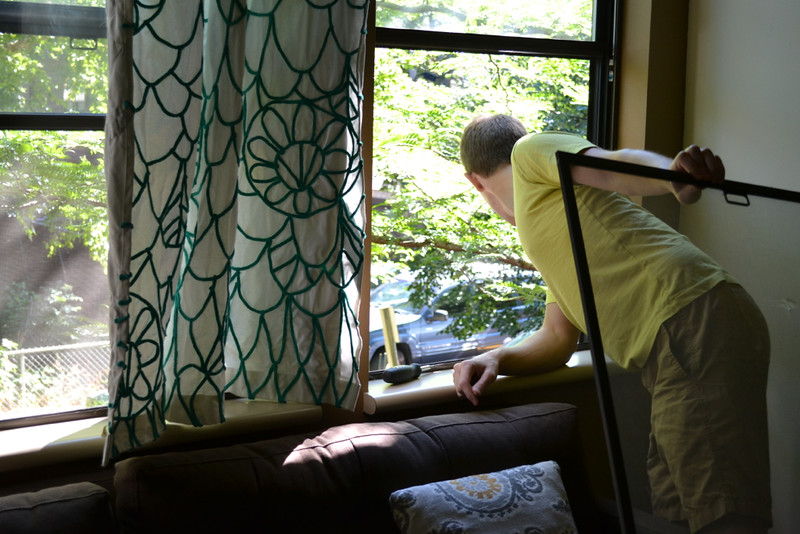
now that you have taken out the screen, you have to take a look around and enjoy the odd perspective you can get of your house, the neighbors, and other points of interest. i’m serious, it is fun. again, don’t fall out of the window, and if you have kids or pets or overly curious spouses, make sure to block the open window while you work on your screens so they don’t fall out of the window, and also to prevent insects from getting in. for us, this meant partially reassembling the window/putting it back into the track.
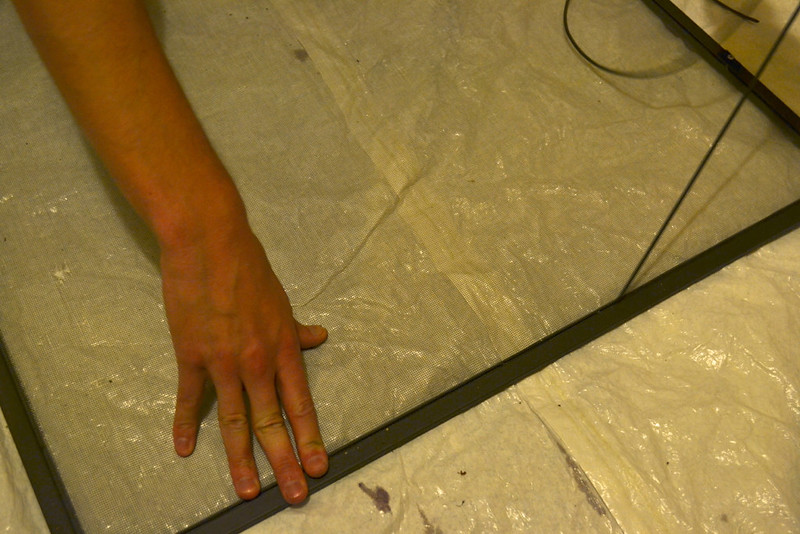
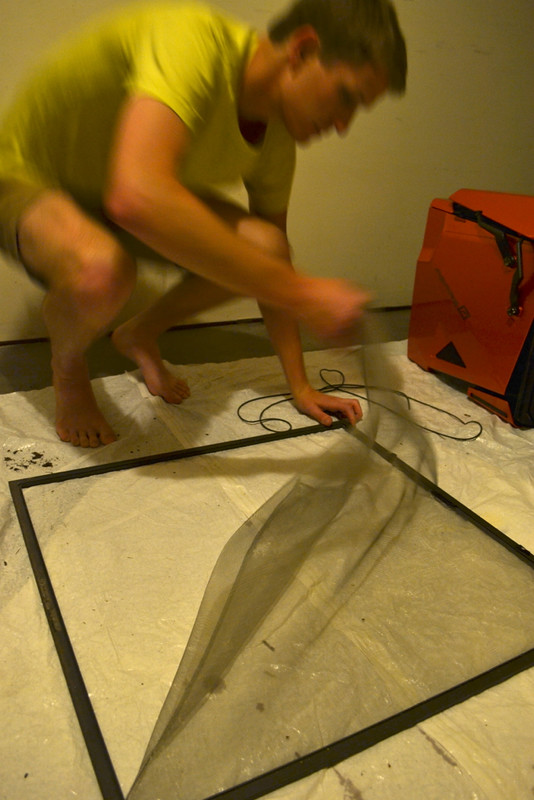
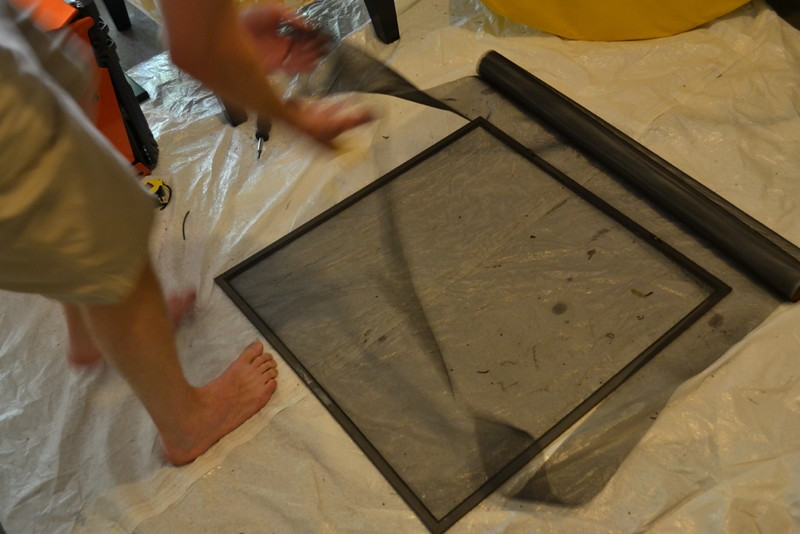
once you have your screens out of the window it’s important to get a good flat workspace. i recommend putting down a softer drop cloth if you are working in your garage like i was. this helps protect the screen, your knees, and the relatively delicate screen frame as well as prevents it from sliding around while you work. some people recommend taping it, but i don’t see the point and think it’s a waste of tape. after you have a good workspace you need to remove the old screen. to do this find the end of the screen ‘spline’ that is the rubber tube that fits into the screen frame, pinning the screen in. it’s a rubber stringy thing and at one of the corners there should be an end you can work out with a flathead screwdriver. once you have it, if you are delicate and it’s not too old you can remove it all just by pulling. if you don’t break it, you get to reuse it!
with the spline gone, the screen comes out easy. throw it away! if it is a metal screen you can likely recycle, however ours were fiberglass so we chucked them.
at this point, make sure your screen frame is clean because it’s likely the only time you will ever clean it. then, take your new screen and line it up with the frame so you get a roughly even spread over it with a couple inches of slack on all sides.
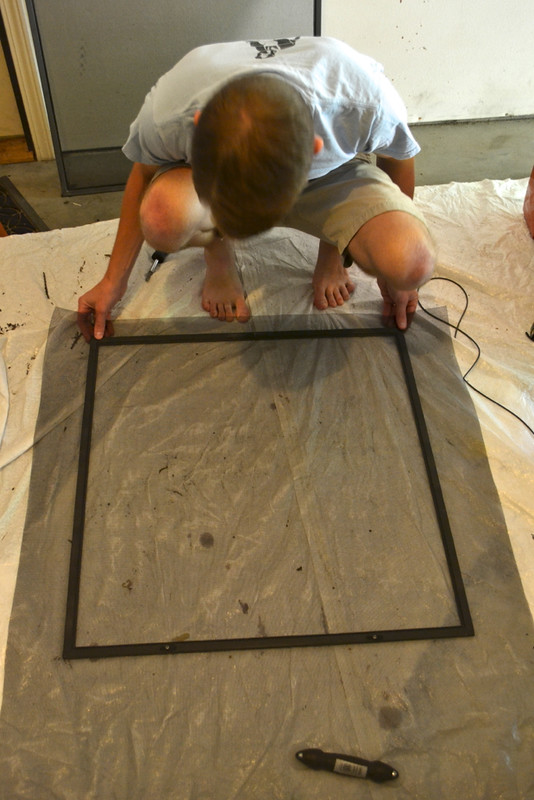
now, refit the spline in the channel, starting from an edge. use the screen mouse to push it in as you go down the edge. one side of the screen mouse will be better for the first pass to get it into the channel (it has a U shape that fits the spline) and one for the second to really secure it (it fits into the narrow channel without pinching the screen). work your way around all four edges, making sure that no extra slack is in the middle of the screen. the act of pushing the spline into the channel pulls the screen pretty taught, so you can actually bend the frame if you don’t leave enough slack in the screen.
then, with the spline in, just cut away the excess screen using a razor blade. you can use the outside part of the channel to guide your knife and it goes pretty quickly.
remove excess!
reassemble your window, making sure to take that one final glance out the window before doing so!
remember, this time it will be much easier!

enjoy your new screens and marvel at the fact that all the bats are contained on the outside of your house!


2bashful
writes 1postcard