


Let’s start off by mentioning that there are much easier ways to build built-in bookshelves out there.
I’m (this is Jason) telling you right now if you want to just make 90 degree cuts all the time then look to another source that does this the easy way. There are even sites you can order floating bookshelves custom cut to install.
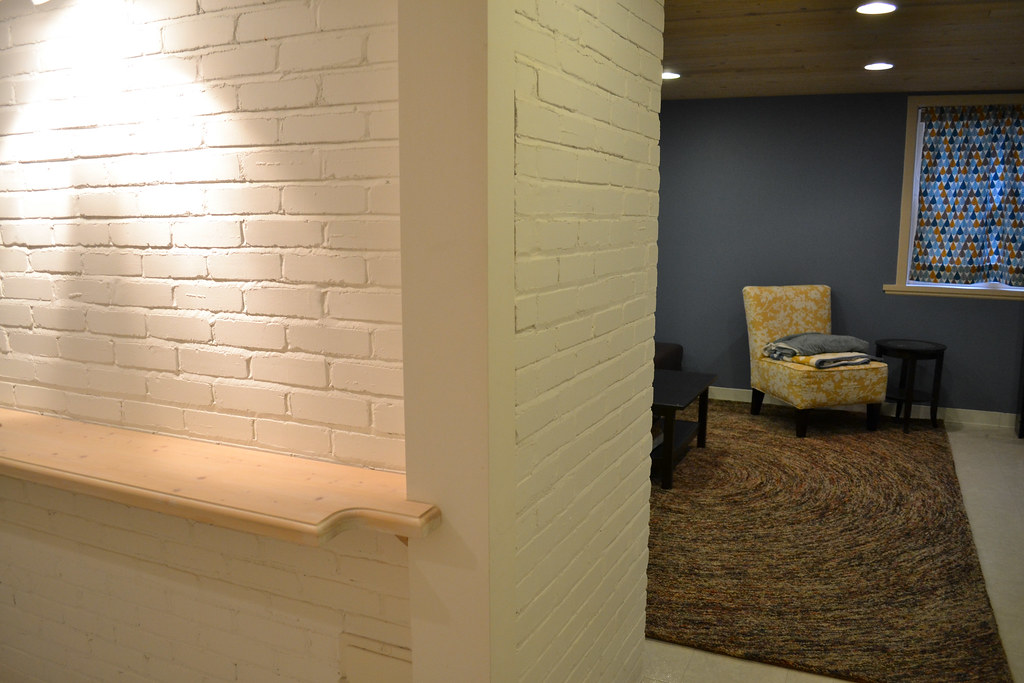
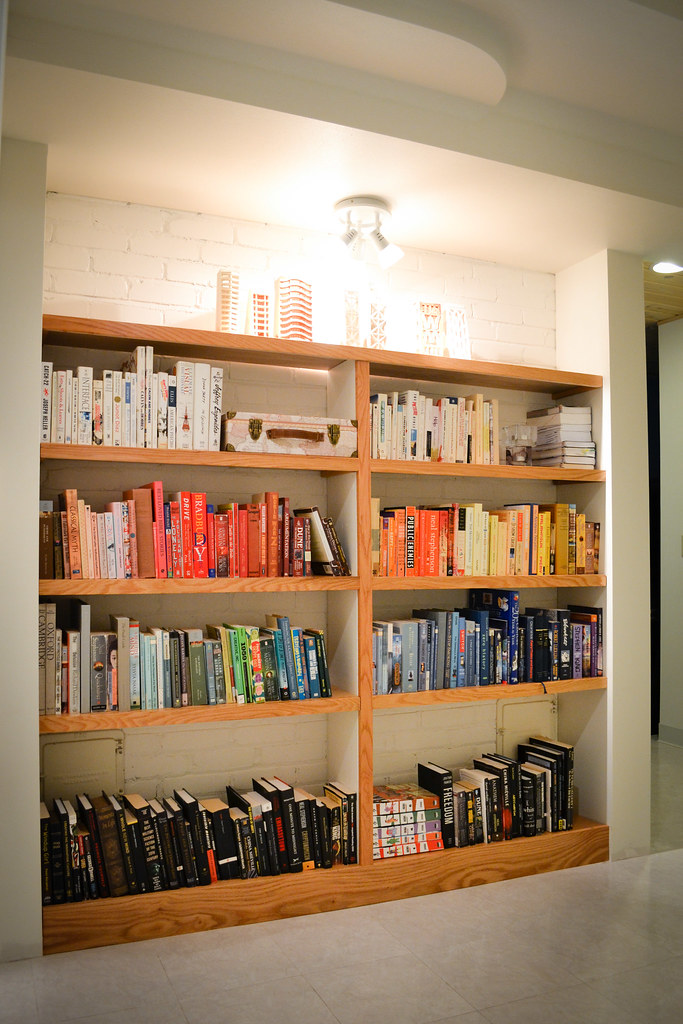
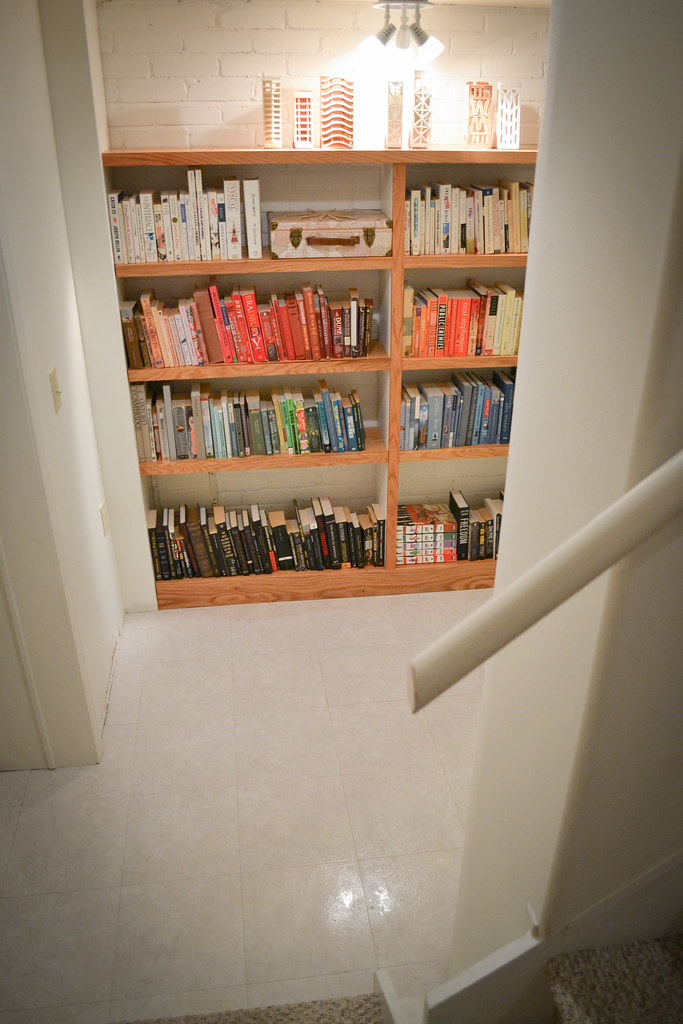
But that isn’t why you are reading this. You’re reading this because you love the challenge of adding “character” to both your home and yourself or because you are amused by Vicky and my adventures in home ownership. If taking on a project like this, I encourage you to take the hard way, because it will totally be worth it. Solving all of the kinks, and having to deal with sometimes complex issues is where you’ll build up a bank of stories to tell your future children. I say this after spending 3 months working on this project, which I will now ruin all anticipation I’ve created with this intro by showing you a picture of the finished product.

But let’s go back to the beginning (April 2014).
Phase 1: Designing
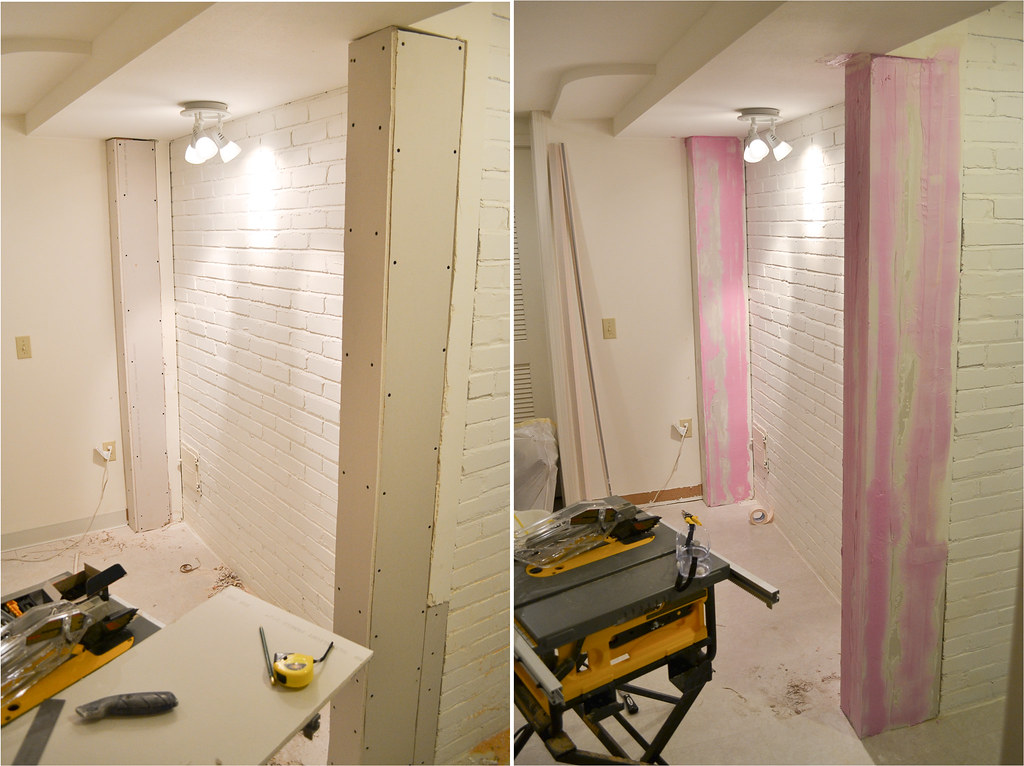
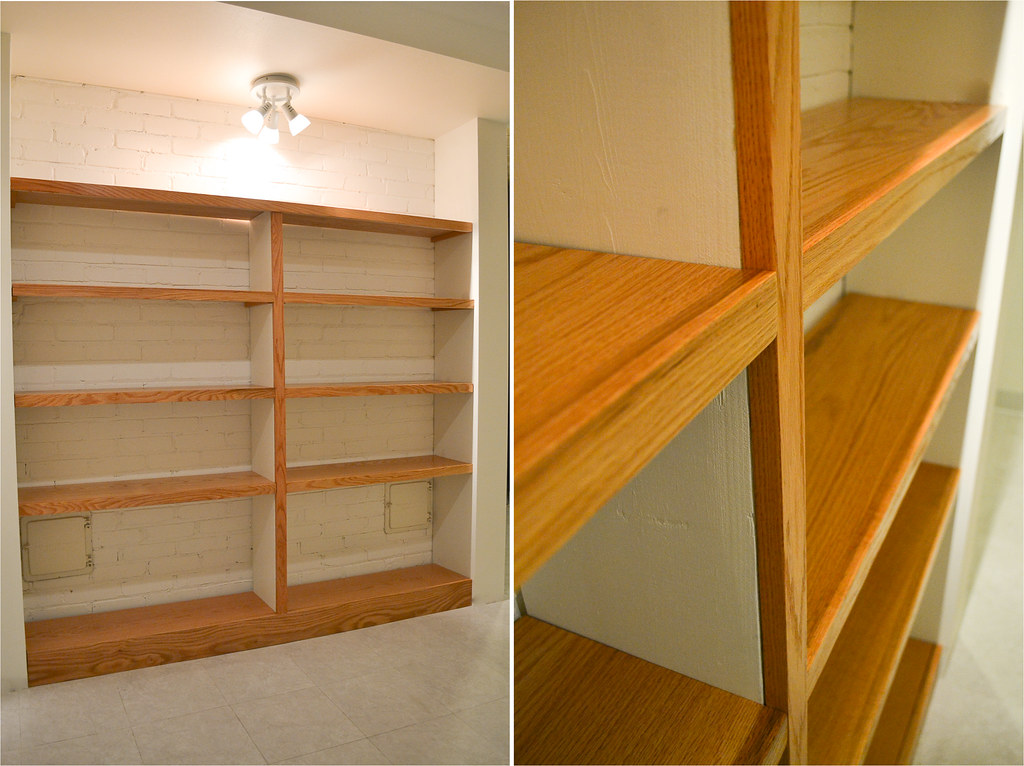
Let me start by orienting you to where in our house we’re working. This is the back wall of the fireplace that used to have a random shelf (that we never found anything to put on) floating at about hips height. We’ve written about what’s on the other side of this wall quite a bit already. We of course saved the most ambitious project for last. But here it goes.
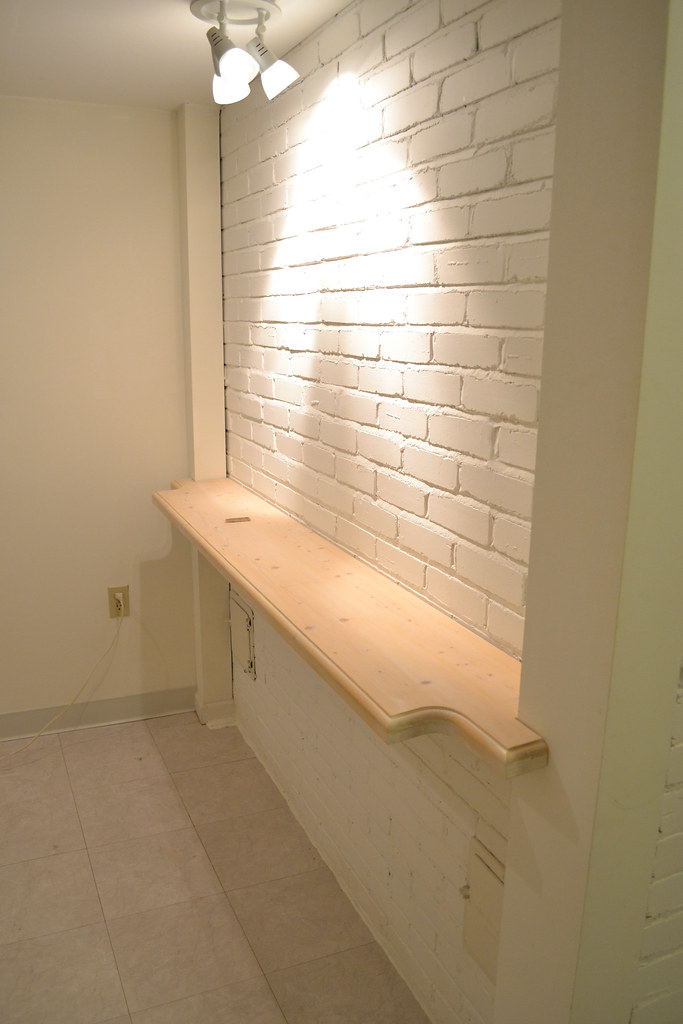
Making the most of the space and existing elements for us meant keeping the design light to match the other parts of the basement, making use of the painted brick behind the shelves, and not closing off access to the ash pit access points. We wanted to do a floating shelf style, and also of course for the shelves to be strong and really last, so we chose oak for the wood.
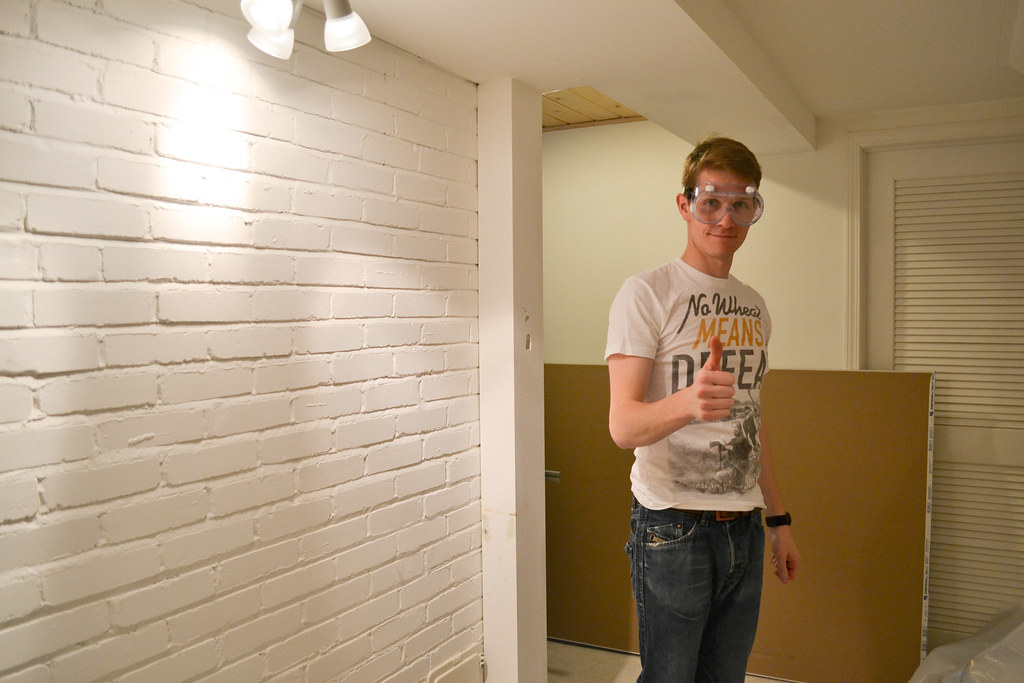
Ready? Get your safety glasses on.
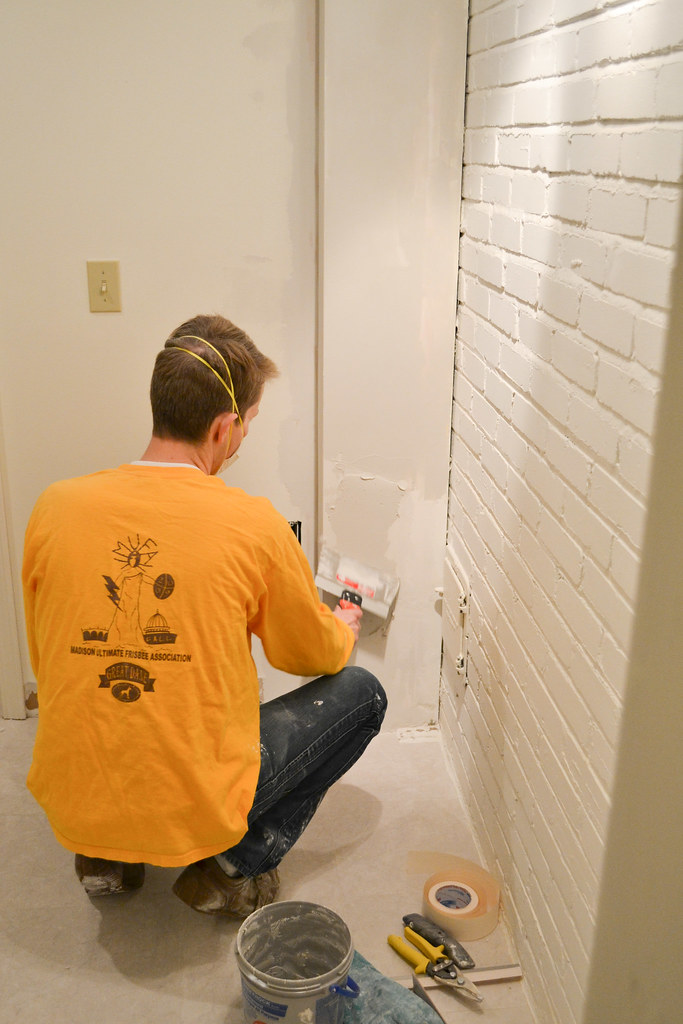
Phase 2: Demolition, Studs & Drywall
Because the shelves needed to be 10 inches deep, my first task was building out the walls on the side to support the length and load the shelves would have. To get the existing bumped out side wall ready, I striped off the drywall. For this part of the job, I used a simple claw hammer to pry, along with tin snips to get those metal edges and corner pieces removed.
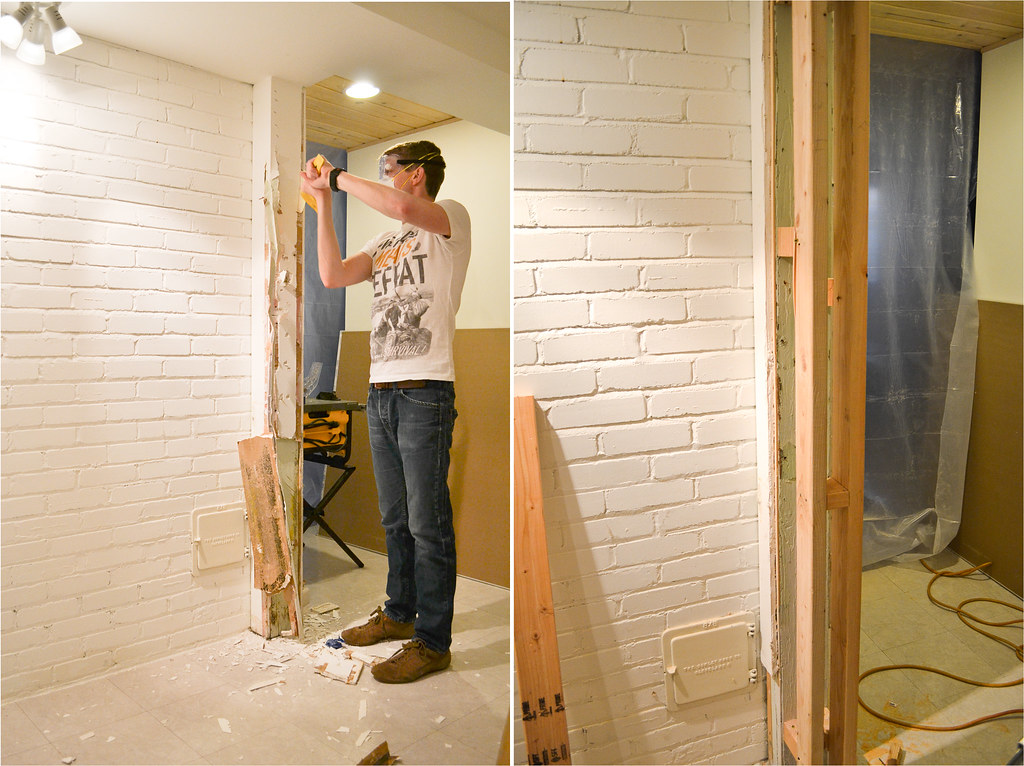
Once the demolition was complete, I was ready to lay the studs out. Because our bump out walls were not sizable I got away without harnessing them directly into our cement floor. This was a definite plus since nailing or screwing into concrete would add complexity and possibly the need to redo some of the floor that I didn’t want to get into. This wouldn’t be possible if we didn’t have a linoleum floor directly on the concrete. What I did instead is add extra frame to the existing bump out, and made sure the bottom of my studs were very level set on the ground, so they could take the force of the shelves without settling.
With studs up, I cut the drywall boards to fit, paying special attention to edges. At this point I’ll just stop and say two very important things for those trying this at home:
- There is already a guy on YouTube that has done this before you, and he probably does it or a variation of it for a living. Go watch him do it. He will always be better than you and it’s a great way to learn.
- There is no substitute for the correct tool for a job. For drywall that means the widest mud knife the size of your wall can support, as well as the liberal use of edge brackets/metal pieces to make your edges and corners perfect. Don’t skimp, they will make your drywall look awesome and people will wonder how you did it.
This stage is also very important because you really need to mud the wall to a 90 degree angle. Spending extra time getting this as straight as possible will make life so much easier when cutting and fitting the shelves themselves. Trust me.
Another tip, don’t buy that pink mud that dries white when it’s done. It is terrible. I was lured to use it because the pink spackling for small minor drywall corrections is the best. On a large scale it was just crappy, and I ended up using so much more mud than I estimated that it was worth it to just go with the 5 gallon bucket of the contractor grade stuff. Because the wall contracts a bit when dry, I ended up doing three coats of mud.
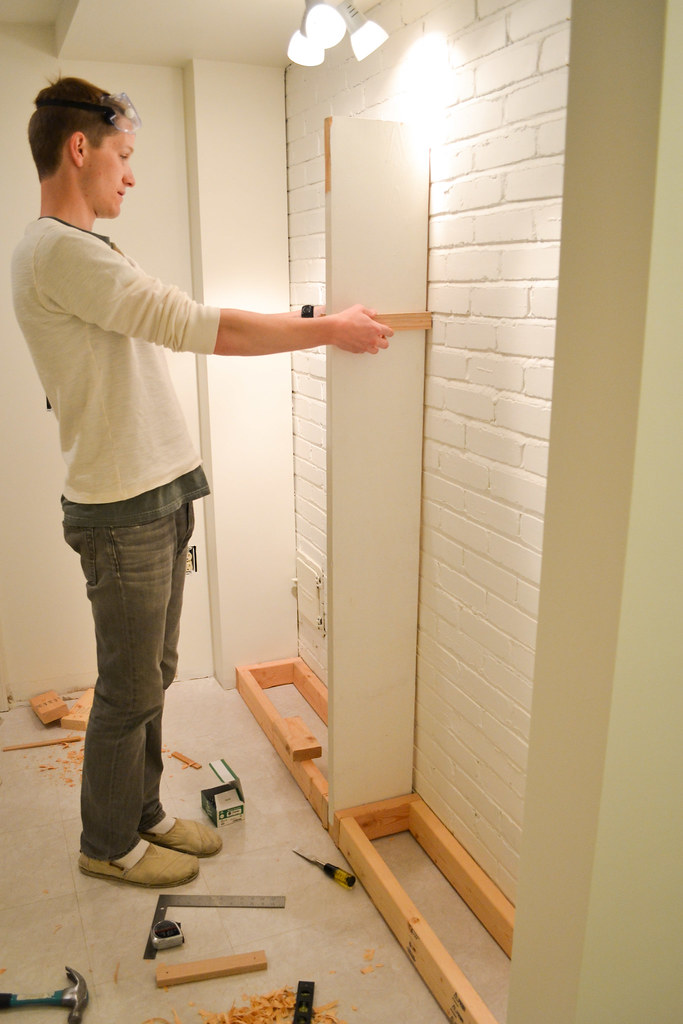
While things were still rough, I built the central support. Since we didn’t put anything into the cement, I created two 2×4 boxes to frame in the 2×10 that went up the middle of the shelf, providing crazy support to the shelves, and a design element to the mix. Lesson learned: In old houses, nothing is level anymore. It turns out the brick on the back of the fireplace isn’t completely straight. And I needed shims for the bottom as well, as our floor was pitched for drainage in the basement.
Phase 3: Painting
I’m not going to tell you how I did this since you’ve made it this far you can probably figure it out yourself.
Phase 4: Cutting the Wood
Now comes the really fun part—using the table saw. This was a gift that Vicky gave me for my 30th birthday. To get my finished carpentry skills nice and polished, I decided that to really cut the wood properly I needed to create a sled for my table saw. For this the Wood Whisperer is the best resource ever. Without a sled, I would have had a hard time using the miter to cross cut all of the boards necessary to do this job right. The sled allowed me to easily match up the measured line with the saw’s path.
In addition to the sled, some clamps to help hold the wood to the sled, as well as arranging stop blocks as needed, are a huge help in the cutting stage. Also, I used my L-square a lot here.
The sled also allows you to churn out same-sized pieces (like the supports the shelves sat on) quickly and easily without having to reposition anything on the saw.
Now, if the side walls are straight, the back wall is straight, I did my cutting straight, and I had two completely identical sides to put the shelves in on, this next piece would be easy. But of course, this is real life and each shelf had to be cut to a little bit of a different width/length. Once I realized that I couldn’t cookie cutter these out, I actually did the work to mock-install them, measuring where they would finally go (our walls aren’t even equally crooked the whole way) before making the final cuts.
Phase 5: Adding the Face
With all of your shelves cut, it was time to add the face to the shelves. This gives it a ton more strength and durability, as well as adding a nice thickness to the profile of the shelf. I used a 1×2 cut of oak. Once cut to length, I used wood glue and clamps to put them together. I have to admit, I could have made things harder here and used pegs or other joinery, but after testing out just wood glue and reading up on it, unless this is really going to bear a crazy load, glue is fine as long as there is good contact between the two pieces using clamps.
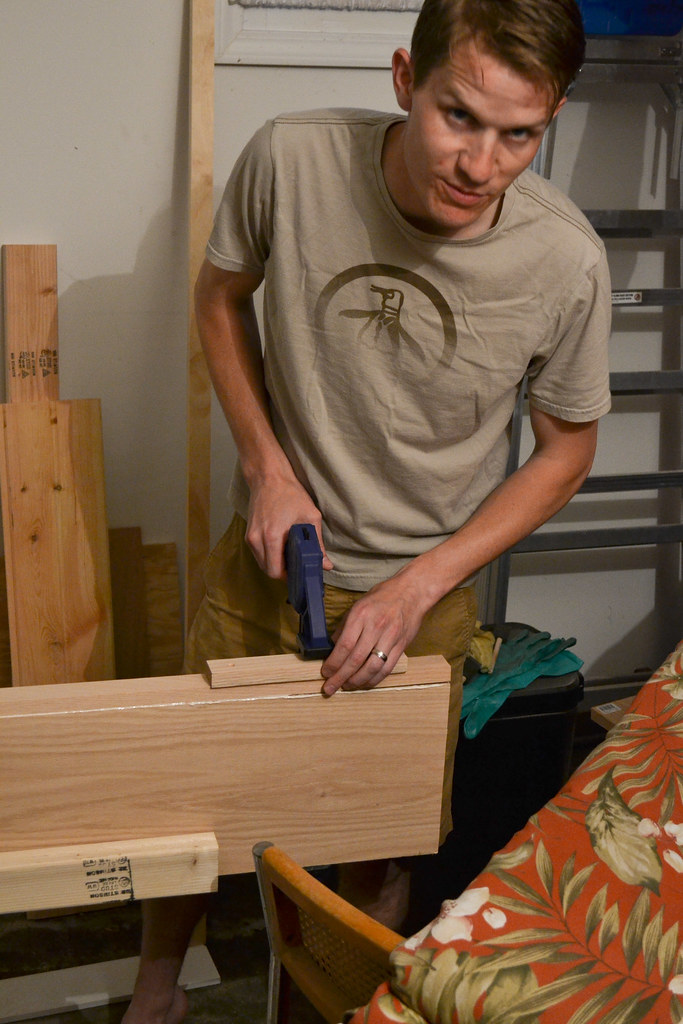
Vicky may have caught me at not-my-finest moment. I swear, I was still having fun.
Phase 6: Sanding & Sealing
With the shelves cut and glued together, I was ready to sand! I took some time and started with rough sand paper, then used my Dremel with sanding attachment to get rid of any small lips the facing had created, and then went over everything with some fine sandpaper.
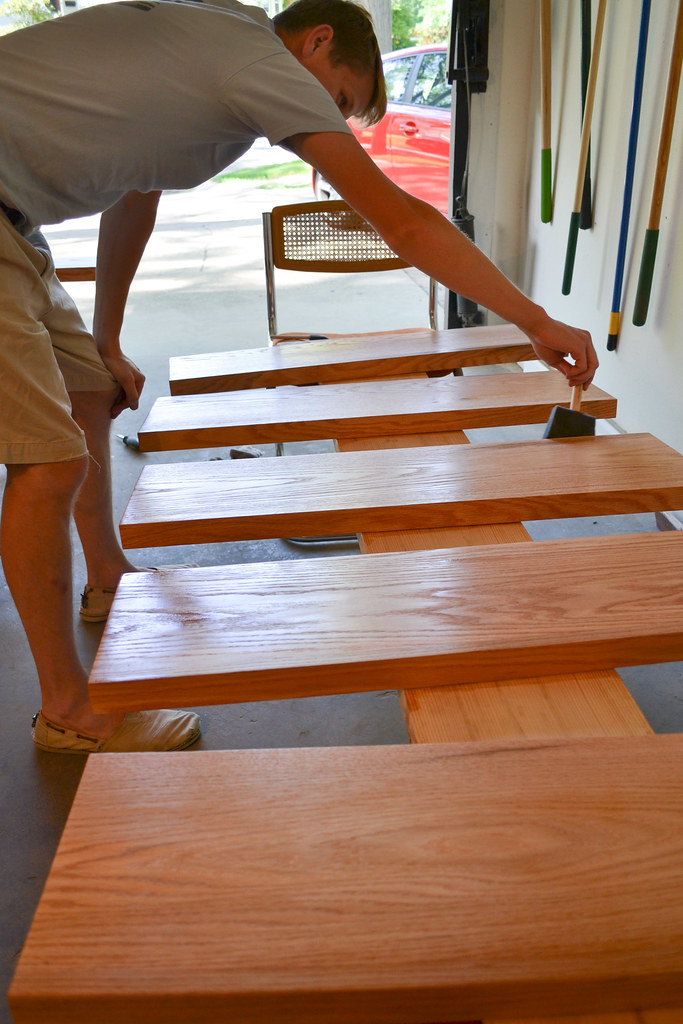
Before starting the sealing process, I spent some restorative time cleaning up the disaster that had become our garage, getting rid of all dust and junk. Then lots of cleaning the shelves with tack cloth. Three coats of polyurethane (with a quick sanding between) later, our shelves had a clean, smooth finish.
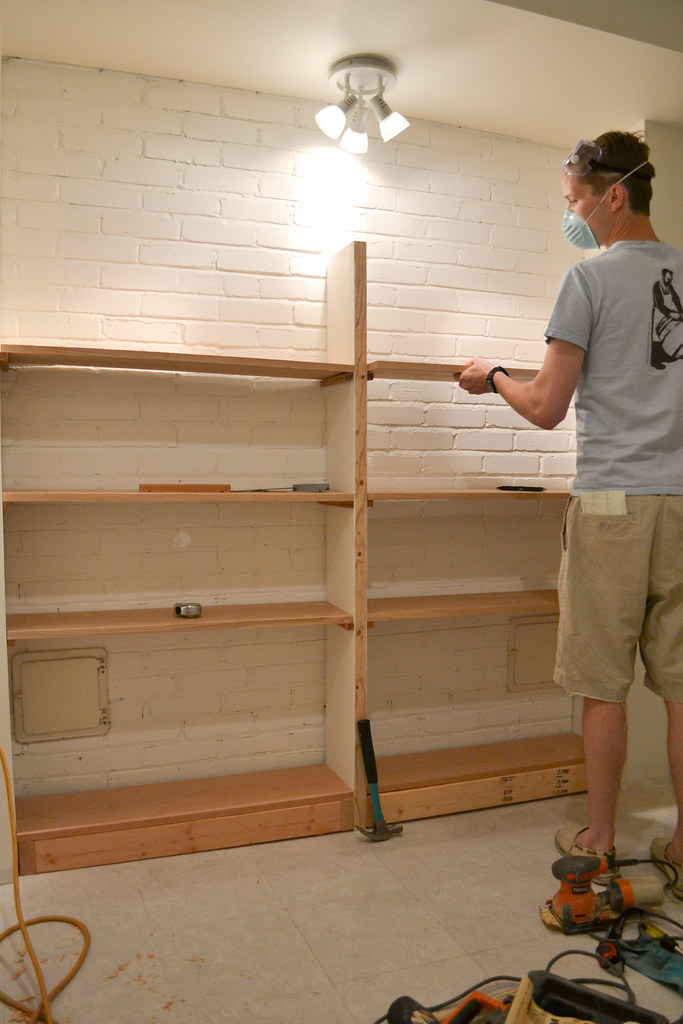
Phase 7: Installation
Now! Once the pieces were dry, it was time for installation. For this step, I needed an assistant (wives with minimal to no experience work great, just tell them to put down their cameras) to help me install the support pieces that the shelves sat on as well as to get the shelves themselves in place.
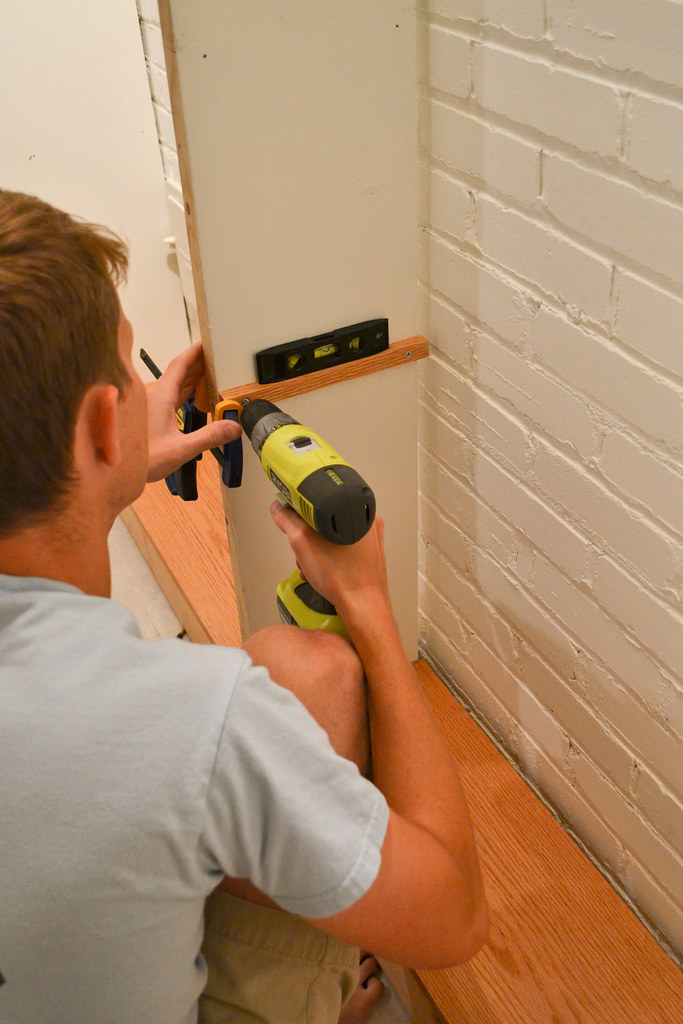
For hardware I used good old fashioned wood screws so they could get through our anchor pieces, into the walls, and then into those studs I built behind the drywall back in Phase 2. Finally, it was time for the finishing touches. I put the bottom base board into place, as well as the facing piece of wood for the central support.
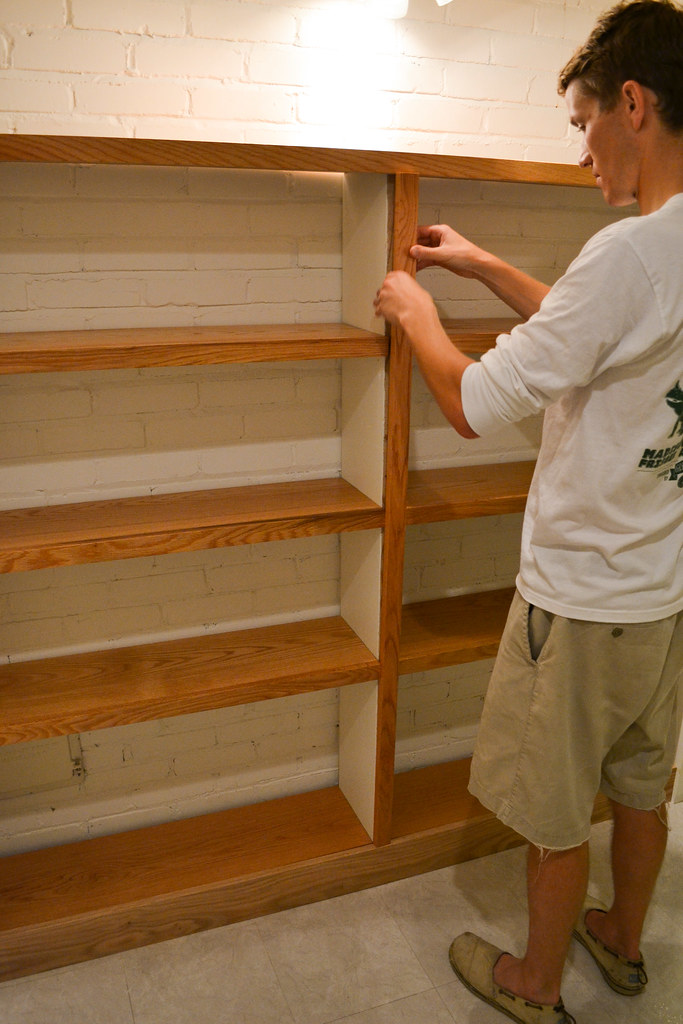
Phase 8: Admiration
Three months later, and I’m done! Although the least technically difficult, phase 8 was likely my favorite, as I got to both admire the finished product and Vicky got to admire me. There is something to be said about doing things the hard way.
Phase 9: Decoration
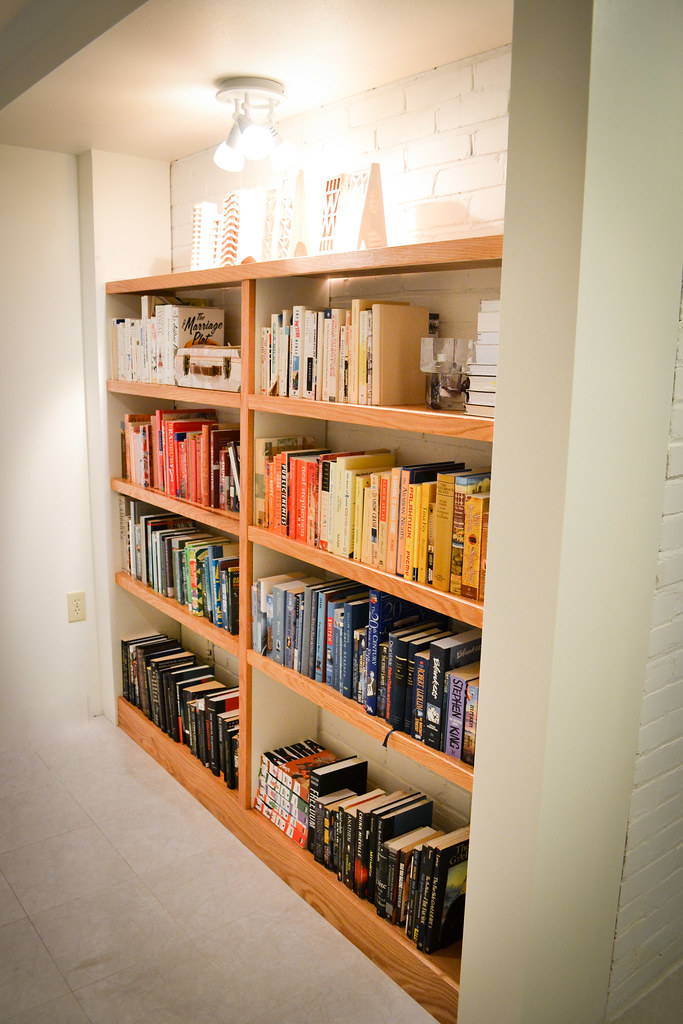
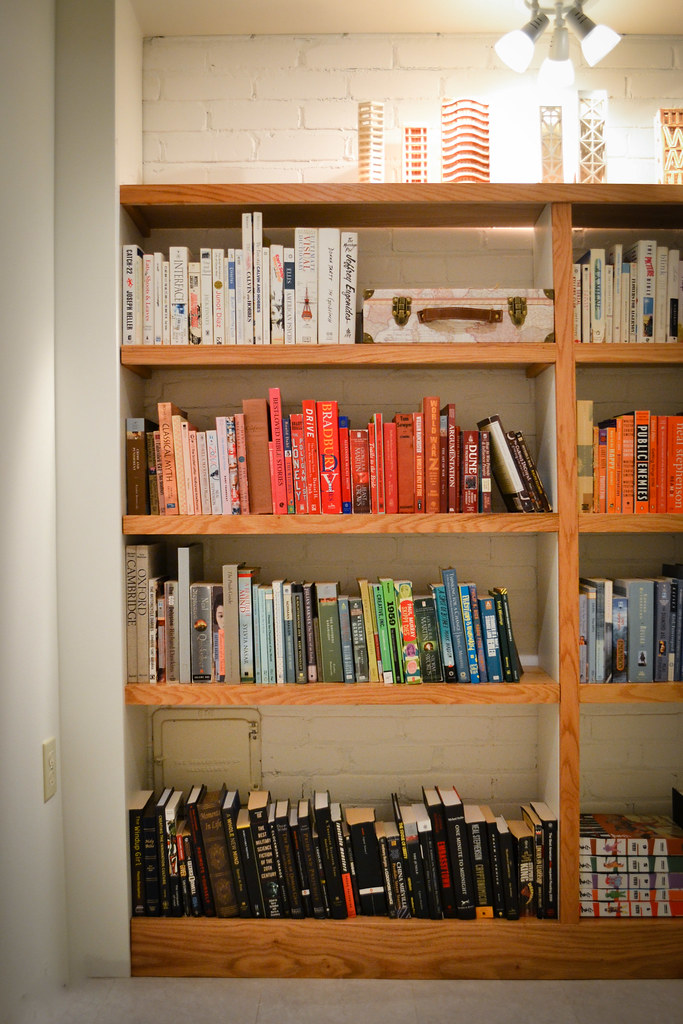
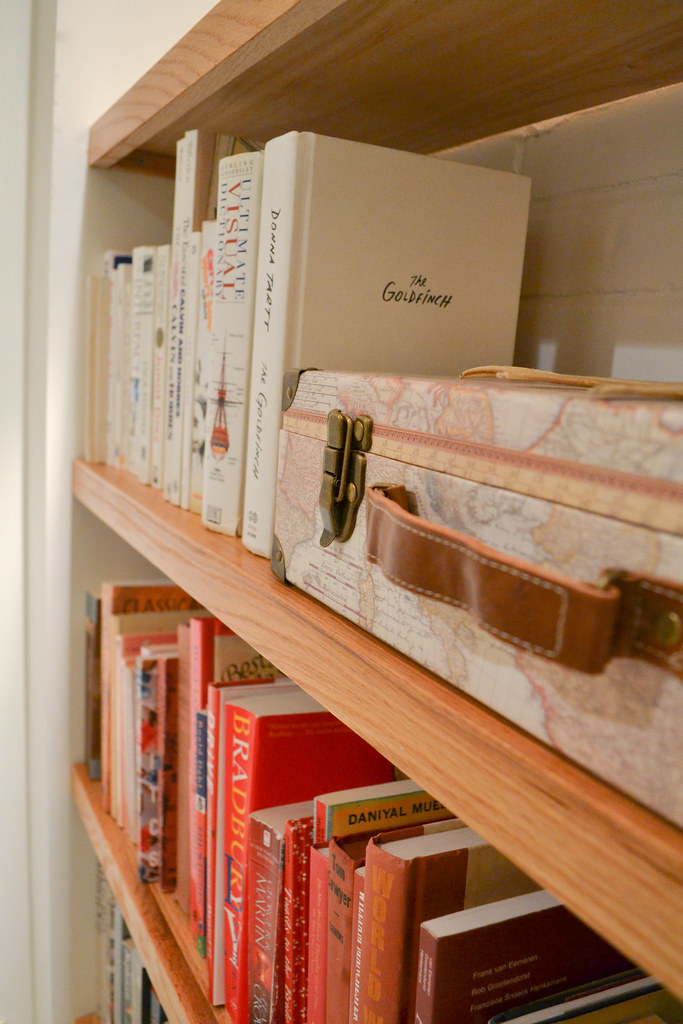
I left this part to Vicky, and she again decided to color code all our books. Here’s what the end result looks like:
Phase 10: The Future
And, as far as the project list goes, here’s where we are for the basement:
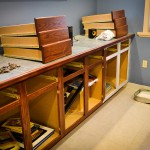
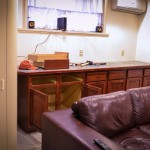
for the cabinet:paint it white.we may also get a board that will cover the entire front of the cabinets (and paint that white as well) and make it look like it’s the actual facade. that way, we can push the couch up against it and it doesn’t look strange but still not lose the storage behind it (we’d likely put seasonal and really rarely used items in there, so moving the couch wouldn’t happen often)remove that old countertop and install butcher block counter (we bought that today!)
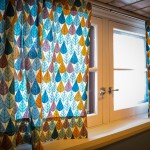
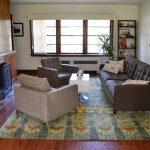
decide whether we should paint that door next to the fireplace blue (to match the walls), white (to match the fireplace) or leave it as iscreate a gallery wall of white frames above the cabinet to try to camouflage the fact that the window is off-center and that damn air conditioning unitreplace all the window treatments with something white, flowy, and with some sort of patternget a big area rug that warms up the place and covers up the linoleum flooring- get/build a new coffee table that has storage inside to hide all the blankets (it’s chilly down here)
- get new sconces for over the fireplace
build bookshelves on the other side of the fireplace (not pictured) and finally get rid of the black bookcases that are at least 15 years old, from ikea, and still standing strong- hang awesome things up on the walls
- figure out long term plan for the floor because obviously, this white linoleum isn’t our first choice


[…] Built-In Bookshelves – I was shocked that this wasn’t Jason’s number one, but it was certainly mine. […]
writes Two Year Blog Anniversary and My Best Of Choices - Things I Made Today[…] Built-in Bookshelves – Without a doubt the hardest and most ambitious project from this […]
writes Two Year Blog Anniversary and Jason's Best Of Choices - Things I Made Today[…] a quick tour of the basement from start to finish. First off, we added a rug next to the built-in bookshelves (which were recently featured on Apartment Therapy!). This rug was also in that storage box of […]
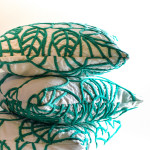
writes Easy Envelope Pillow Covers Plus Basement Update3showcase
writes 1placing[…] Quote from the source: … […]
writes Top 15 how to install built in bookshelves – hkfindall.com